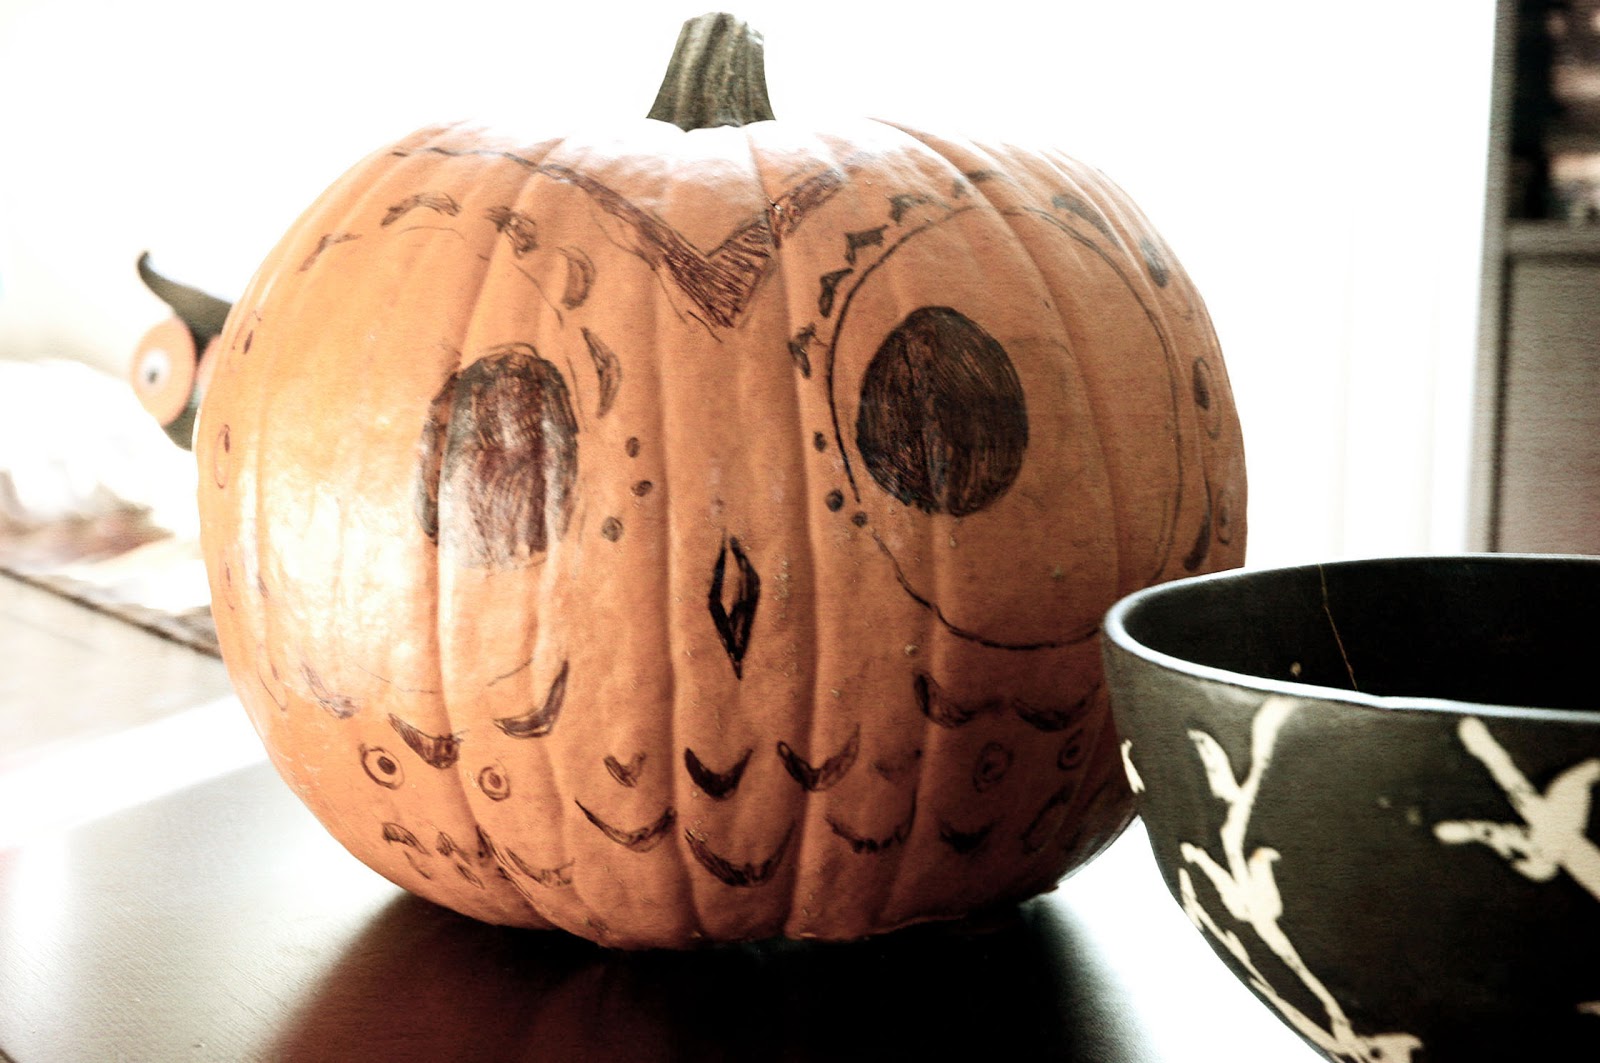
So for my very first DIY ever (well, first ever documented) I wanted to do something Holiday related, but since I've been so crammed with work & freelance projects, I wasn't able to finish this before Halloween day. Luckily, though, I feel that this particular type of pumpkin caving can be done for Thanksgiving as well as Halloween, so hopefully you'll enjoy it none-the-less!
What you will need:
1. A Pumpkin, of course.
2. A marker.
3. Pumpkin carving tools; you can purchase a basic starter kit or use a smaller knife from home, make sure you use one with teeth/ridges. For a more detailed owl, you can use drills and grinders.
4. A bowl and a spoon.
5. White & black acrylic paint.
6. A sea sponge.
7. Detail brushes.
Step 1. Draw an interesting owl face onto the front of your pumpkin. The key shapes in my design are big, round eyes and a long diamond shaped nose in the middle. After that you can start adding details around the eyes and nose, to add texture for when you paint over it as well as fr when it's dark!
 |
| The Curious Kitten |
Step 2. After you've created an interesting looking owlie face, you'll want carve an opening to get all those seeds out! I cut mine from the bottom so I can easily a candle underneath.
Step 3. After carving an opening, you can clean out your pumpkin and save your pumpkin seeds. If you want a more smooth inside, you can use a spoon to scrape the inside and get the excess out. For this particular type of pumpkin,you will probably not want to scrape too much out, you'll want more meet on the insides to make the owl eyes more prominent.
Step 4. After cleaning the inside of excess meat and seeds, you can start to carve out the likeness of the owl! The key to getting the meat around the owls eyes to look like its sinking in is to first cutout the actual whole of the eye and then to scrape away in a layering manner, caving the eye in around the whole. You could also try using a large carving knife and cutting in a circle diagonally, which would give the same effect but you have less control over the overall shape around the owl eyes.
Step 5. Adding details like little round wholes to add texture can be done with a simple carving knife, of with a drill. I actually ended up taking the drill bit out of the body and using it, the circular design on the drill made it extremely easy for push in and twirl so I didn't have to actually turn the drill on and get little pumpkin pieces all over my face (which did happen initially!)
Step 6. After adding the details you can take your sea sponge and white acrylic to paint your pumpkin. I think that this technique is more beneficial for this kind of pumpkin carving because if you were to spray paint the pumpkin you risk some of the paint chipping off during the carving process and respray painting will ruin the effect you're going for.
When using the sea sponge, dip it into the white acrylic and start to "sponge" it onto the pumpkin. Do this in layers as well so the details show up nicely and are not covered by the paint.
Step 8. Admire your work! For some of you, this may be a job well done! Call it a day and throw in the towel, because this owl pumpkin is complete!
Step 9. Turn off the lights and see the magic! I personally love how the black makes the owl look when the candle is lit, it feels very whimsical. Some pretty amazing colors with all the lights off!
So there it is, guys, my first DIY!
Hope you all enjoyed it
xox, a modern dame